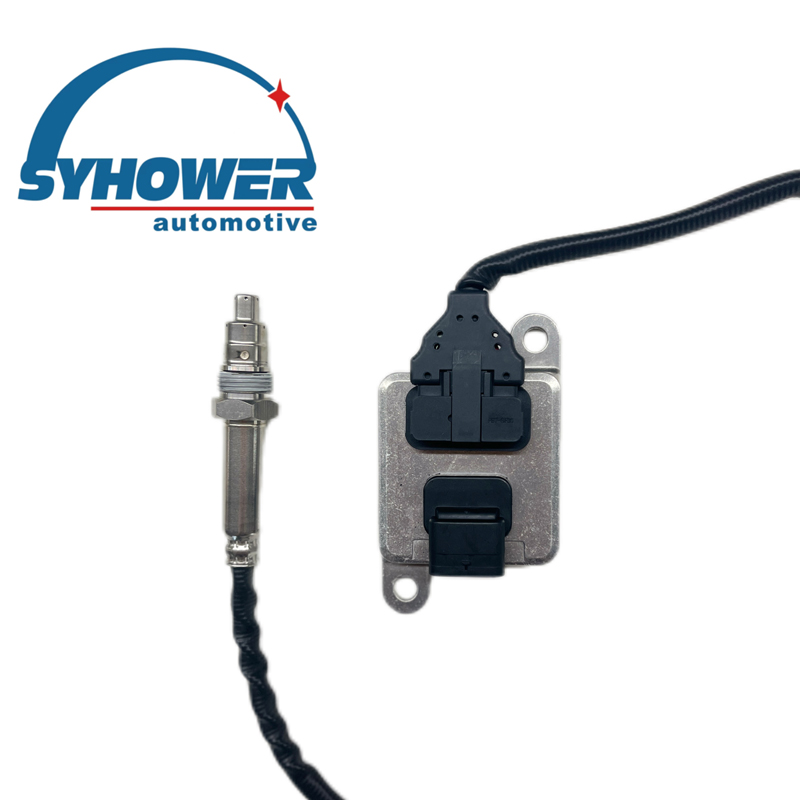
How to install High Quality Nitrogen Oxygen Sensor
2025-05-09
To install a high-quality nitrogen oxygen (NOx) sensor, follow these general steps. These sensors are typically found in vehicles (especially diesel engines) or industrial emission control systems. Be sure to reference the manufacturer's specific installation manual, but here's a standard procedure:
Tools & Materials Needed:
New NOx sensor (OEM or high-quality aftermarket)
Ratchet and socket set (often 22mm oxygen sensor socket)
Anti-seize compound (if not pre-applied)
Torque wrench
Safety gloves and goggles
Jack and jack stands (for vehicles, if underbody access is needed)
Scan tool/OBD-II scanner (for resetting fault codes)
Step-by-Step Installation:
1. Safety First
Park the vehicle or shut down the equipment and let everything cool down.
Disconnect the battery to avoid shorts or triggering warning lights.
2. Locate the Sensor
NOx sensors are usually mounted:
On the exhaust manifold, downpipe, or after SCR catalyst in vehicles.
In the exhaust stack or emission line for industrial systems.
Use the vehicle service manual or equipment schematic to find the exact location.
3. Remove the Old Sensor
Disconnect the sensor wiring harness carefully.
Use an oxygen sensor socket to unscrew the old sensor.
Check the threads for damage or corrosion.

4. Install the New Sensor
If not already done, apply anti-seize compound to the sensor threads (avoid the sensing tip).
Screw in the new sensor by hand, then tighten with a torque wrench to manufacturer’s spec (typically ~35–40 Nm).
Reconnect the sensor wiring harness securely.
5. Reconnect Battery & Reset Codes
Reconnect the battery.
Use an OBD-II scanner or diagnostic tool to clear any NOx-related codes.
Start the engine and check for error lights or abnormal readings.
If you are interested in our products or have any questions, please feel free to contact us and we will reply you within 24 hours.


