

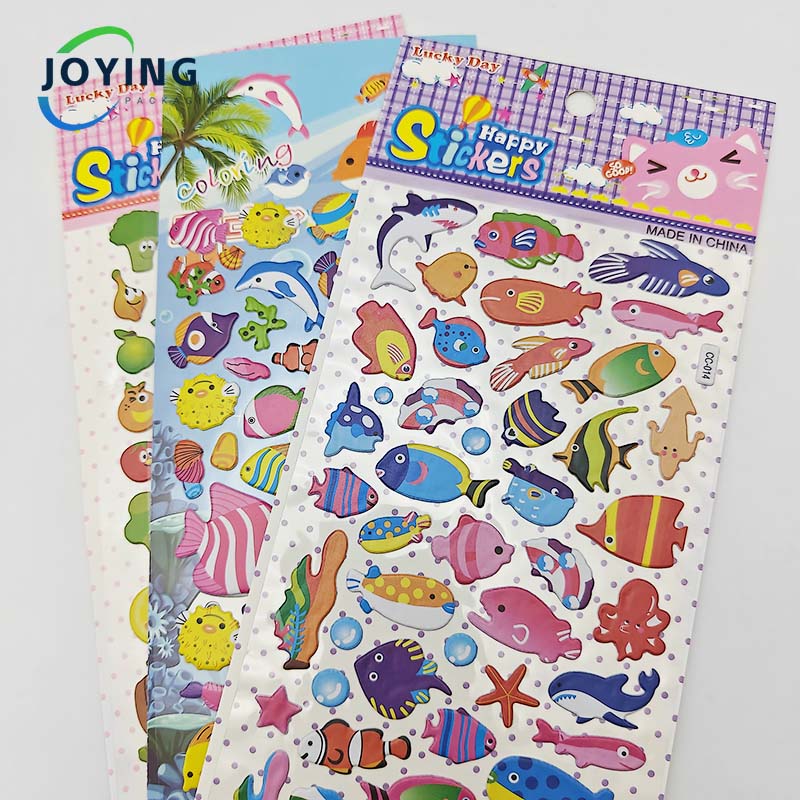
How to Designing custom cartoon stickers?
2025-04-27
Designing custom cartoon stickers sounds super fun! Here's a step-by-step guide to help you through it:
1. Choose a Theme or Character
Decide what your sticker will be about — is it an original character, an animal, a funny object, a meme, or a cute version of something?
Sketch some rough ideas first.
Tip: Think about emotions, poses, and exaggeration — cartoons look best with big expressions!
2. Sketch Your Design
Start with rough pencil sketches.
Focus on simple shapes — circles, ovals, and clean lines make characters feel more "stickery."
Test a few poses or moods.
3. Outline the Artwork
Once happy with the sketch, trace over it with cleaner lines.
Use thick, bold outlines — they look great when printed as stickers.
Programs like Procreate, Adobe Illustrator, or Clip Studio Paint are perfect for digital outlining.
4. Add Color
Pick a simple color palette (3–5 main colors).
Bright, bold, and high-contrast colors usually pop better on stickers.
Add highlights and shadows sparingly to keep the design "readable" at small sizes.
5. Prepare for Printing
Remove any unnecessary background — usually, transparent backgrounds (PNG format) are ideal.
Add a white "sticker border" around the design (called a die-cut line) — usually 1/8 inch (3mm).
Make sure the resolution is 300 DPI for crisp printing.
6. Print Your Stickers
You can:
Print at home (using sticker paper).
Use a service like Sticker Mule, Redbubble, or a local print shop.
DIY with a cutting machine like Cricut or Silhouette if you want full control.
7. Optional: Make a Sticker Pack
Group a few stickers into a set with a common theme (like "angry cats" or "happy veggies").
Think about packaging: small bags, header cards, or even mini envelopes.
If you are interested in our products or have any questions, please feel free to contact us.