

Best Air Dampers for Efficient Airflow Control and Comfort
2026-07-04
When it comes to maintaining ideal indoor conditions, airflow control is everything. The right air dampers can transform a stuffy, unevenly heated or cooled space into a perfectly balanced environment. But with so many options on the market, how do you choose the best ones for efficiency and comfort? That’s where THT comes in. Designed to deliver precise regulation and long-lasting performance, THT dampers stand out as a top choice for homeowners and professionals alike. In this guide, we’ll explore what makes a great air damper and why THT should be at the top of your list.
How Air Dampers Fine-Tune Your Indoor Climate
Air dampers act as the unsung heroes behind balanced room temperatures, quietly adjusting airflow to match the subtle shifts in each space. Unlike a simple on/off vent, they allow for precise modulation—slightly closing here, fully opening there—so your living room stays cozy without making the bedroom feel like a freezer. This fine-tuning ability means you can direct warmth or cooling exactly where it’s needed, responding to a sunny window or a drafty corner without constantly fiddling with the thermostat.
Manual dampers give you hands-on control, and once set, they tend to be forgotten, but motorized dampers bring a new level of intelligence. These smart components link to zone-based systems, reading sensors and adjusting in real time to occupancy or time of day. By dynamically balancing the load, they not only sharpen comfort but also reduce strain on your HVAC, helping it run more efficiently without you ever noticing the mechanics at work.
What sets a well-tuned damper system apart is the way it harmonizes with your home’s layout. It’s not about brute-force heating or cooling—it’s about nuance. Dampers take into account everything from ceiling height and insulation to the placement of your furniture, and they adapt to the natural rhythm of your household. Over time, you’ll notice fewer hot spots, less dust blowing around, and a certain freshness in the air that comes from not overheating or overchilling the same air repeatedly.
Spotting the Signs of a Struggling Damper System
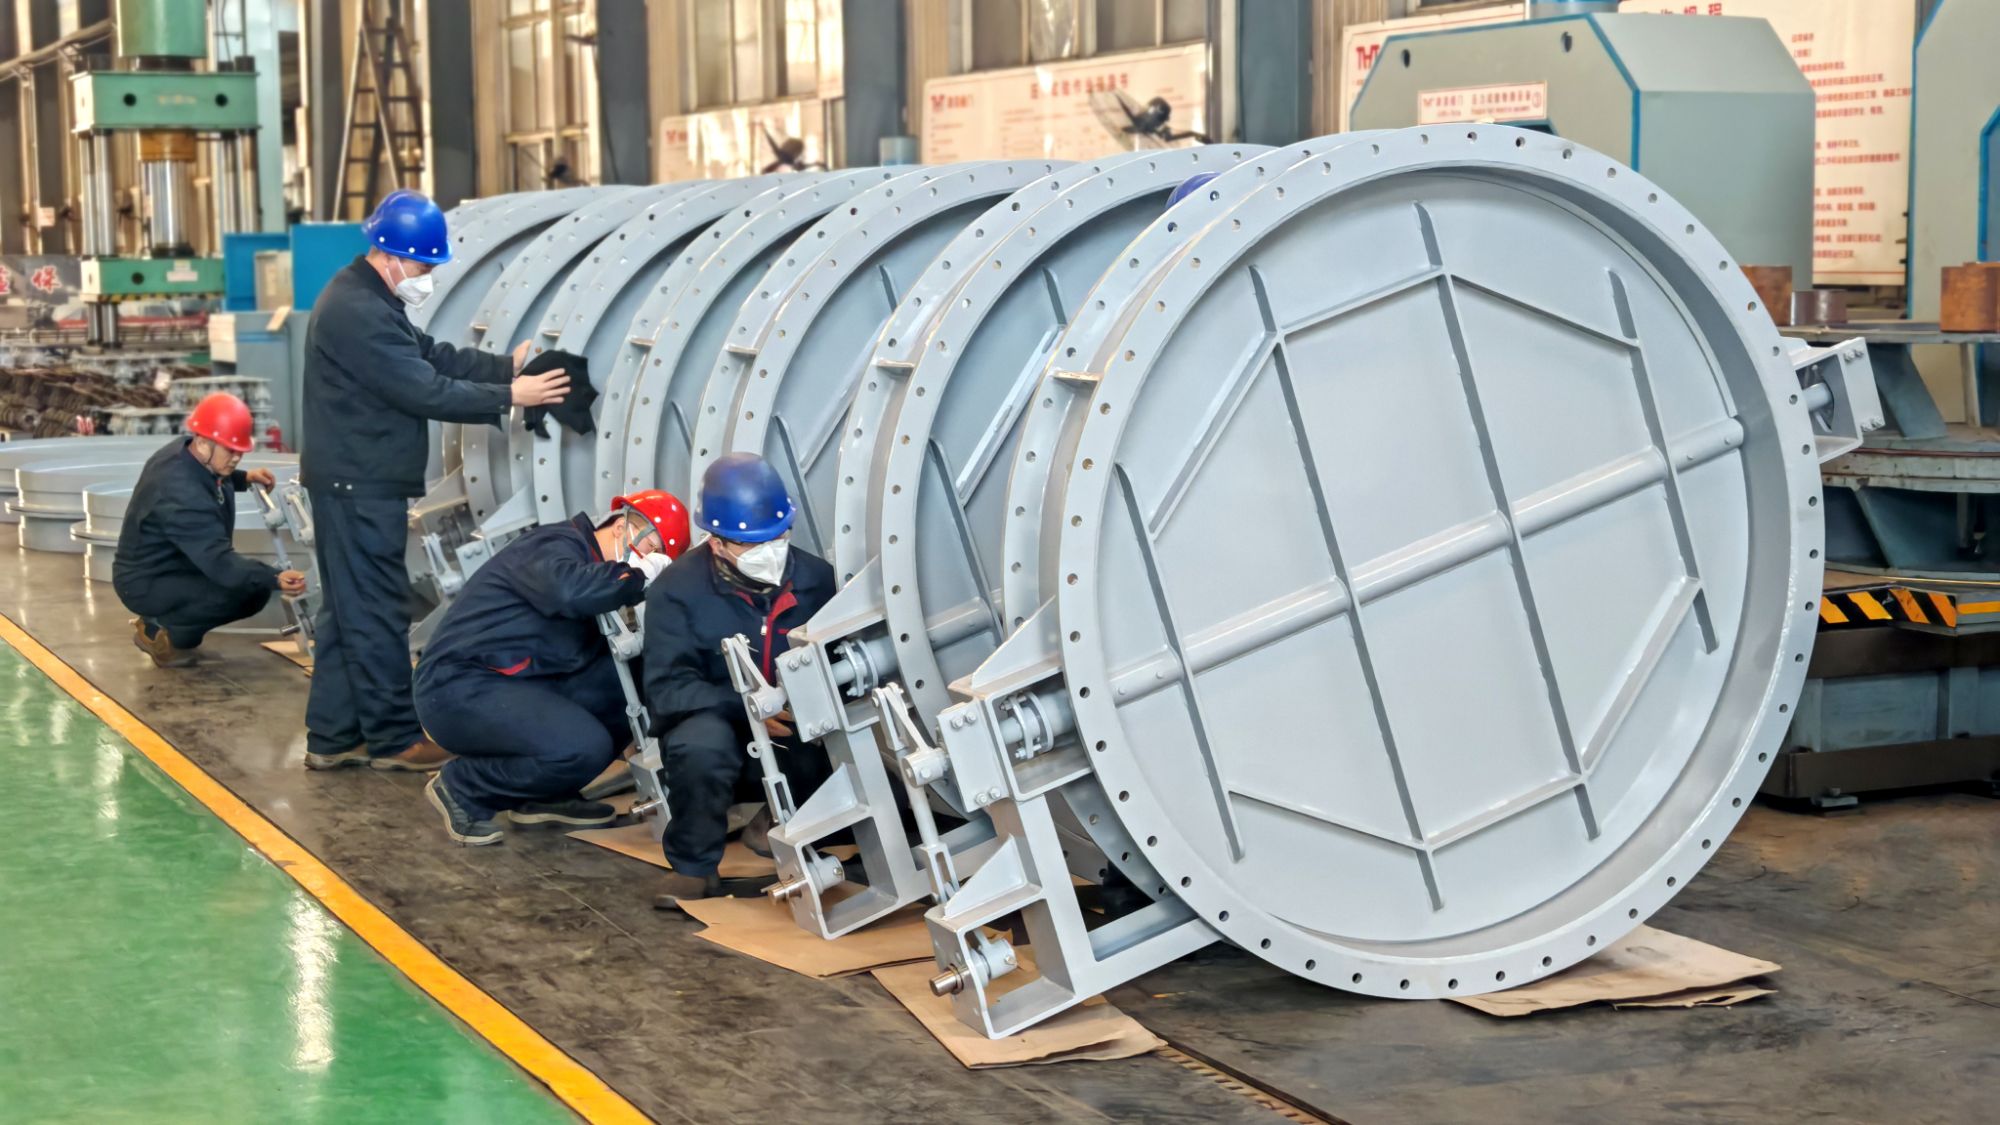
A damper system that's beginning to fail rarely announces itself with a loud bang—instead, it whispers through subtle changes you might overlook. One of the earliest red flags is uneven temperature distribution. You'll notice some rooms feel stuffy while others are perpetually chilly, even though the thermostat insists everything is fine. This inconsistency often points to dampers that aren't opening or closing fully, forcing air where it isn't needed and starving spaces that require it.
Another telltale clue hides in your energy bills. When dampers malfunction, your HVAC system works overtime to compensate, cycling on and off more frequently or running longer than usual. You might also hear unusual noises—a faint rattling or a dull thud from the ductwork when the system kicks in, suggesting a damper blade is loose or stuck. These sounds are easy to dismiss as normal house settling, but combined with comfort complaints, they're worth investigating.
Don't ignore the airflow itself. Place your hand near a vent: a weak, fluttery stream of air in a room that should have strong flow often means a damper is partially blocked or sealed shut. Over time, this strain can lead to frozen coils in summer or a cracked heat exchanger in winter—expensive repairs that stem from a problem many homeowners never think to check.
Manual vs. Motorized: Picking the Right Fit for Your Space
When deciding between manual and motorized window coverings, the daily rhythm of your household plays a starring role. A manual shade might seem simple, but there’s a quiet satisfaction in physically drawing it open to greet the morning light—no remote to lose, no batteries to replace. Yet, for those hard-to-reach windows above a staircase or behind a bulky sofa, that same manual operation can become a chore you’d rather skip, leaving the shade untouched for days.
Motorized options introduce a layer of convenience that blends seamlessly into a smart home setup, or simply saves your hands when you’re juggling a cup of coffee and a restless pet. But they’re not just about ease—they bring a surprising degree of safety to homes with young children or curious cats, eliminating dangling cords that can pose risks. The trade-off, of course, is a reliance on power and sometimes a more involved installation process that might have you reaching for the toolbox.
Ultimately, the character of a room can nudge you one way or the other. A serene, minimalist bedroom might beg for the clean lines of a cordless manual shade, quietly disappearing into the decor. Meanwhile, a media room or a soaring window wall practically demands the drama and precision of a motorized system, where light control happens at the touch of a button. It’s less about which is objectively better and more about how the space is lived in, day in and day out.
Simple Steps to Keep Dampers Working Like New
Most people forget that dampers need a little attention now and then, but it’s surprisingly easy to keep them feeling tight and responsive. Start by wiping down the exposed shafts with a clean cloth to remove dust and grit that can work their way past the seals. A light coat of silicone spray on the shaft helps the damper glide smoothly without attracting dirt. If you notice any slight binding or inconsistent resistance, it often means the internals are just a bit dry, and a few compressions with fresh lubrication can bring them right back.
The mounting points are just as critical as the damper itself. Over time, bolts and bushings can loosen or wear, creating tiny movements that mimic a damper going bad. Tighten everything to the correct torque and inspect rubber bushings for cracking or deformation. If the damper uses spherical bearings, check that they rotate freely without slop—a stiff bearing can overload the damper shaft and cause premature wear. Little things like misaligned end caps or bent mounting studs can also throw off the motion, so it pays to look closely.
Storage and seasonal habits matter more than you think. If the equipment sits for long periods, cycle the dampers through their full stroke at least once a month to keep the internal fluids distributed and the seals from drying out. For vehicles or machinery stored outdoors, a simple protective boot over the shaft can prevent moisture and road grime from eating away at the finish. And don’t overlook temperature—extreme cold can thicken the damping fluid and change the feel, so a gentle warm-up before hard use gives everything a chance to work as intended.
Clever Ways to Cut Energy Costs with Smarter Airflow
One of the simplest yet most overlooked tactics is making your ceiling fans work for you year-round. In summer, set them to spin counterclockwise to push cool air down, creating a breeze that lets you raise the thermostat by several degrees without sacrificing comfort. Come winter, flip the switch to clockwise at a low speed to gently recirculate warm air trapped near the ceiling, reducing the need for constant heating. This seasonal adjustment alone can trim noticeable dollars off your utility bill.
Your home's exhaust fans are another hidden opportunity. Instead of running them out of habit long after cooking or showering, install timer switches or moisture-sensing controls that automatically shut them off once humidity and odors are cleared. These fans can pull out conditioned air in minutes, so limiting their runtime keeps heated or cooled air where it belongs. A small tweak like this prevents stealthy energy drain without anyone noticing a difference in air quality.
For those with ducted HVAC systems, periodically walk through rooms and check vent positions. Furniture, rugs, or curtains often block supply and return vents, forcing the system to work harder. Simply clearing obstructions and adjusting louvers to direct airflow where people spend time can improve efficiency. Also, closing vents in rarely used rooms can redirect conditioned air to high-traffic areas, but do this sparingly—too many closed vents can increase duct pressure and strain the blower. A balanced, intentional approach to airflow management keeps energy use in check without expensive upgrades.
What to Look for Before Upgrading Your Ductwork
Before committing to a ductwork upgrade, scrutinize the condition of your existing system. Look for telltale signs of wear such as disconnected joints, crushed sections, or rust that can silently bleed away efficiency. Even small gaps can suck in unfiltered attic dust or crawl space humidity, undermining indoor comfort. Pay close attention to insulation integrity too—uninsulated or poorly wrapped ducts in unconditioned spaces leak cool air during summer and heat in winter, spiking your utility bills without a whisper of warning.
Sizing matters more than most homeowners realize. An oversized furnace paired with undersized ducts creates noisy, draft-prone rooms, while the opposite chokes airflow and strains equipment. If past renovations added square footage or reconfigured rooms, your old duct layout likely doesn’t match current heating and cooling loads. A Manual D calculation by a qualified professional eliminates guesswork, mapping out exactly where airflow falls short—often in second-story rooms or newly finished basements that never seem to reach the thermostat’s set point.
Don’t overlook hidden culprits like poorly sealed return paths and filter placement. A starved air return forces your blower to work harder, eating up energy and amplifying noise. Check whether return grilles are unobstructed and adequately sized for each zone. Additionally, inspect filter slots—if they’re flimsy or let air bypass the media, you’re circulating coarse particles that gum up coils and fans. Even high-quality ducting can’t compensate for a weak return system; sometimes the smartest “upgrade” is simply fixing the return side before tearing out otherwise serviceable ducts.
FAQ
It's a simple plate or valve inside the ductwork that you can adjust to control how much air flows into different rooms. By giving you manual command over airflow, it helps balance temperatures so the bedroom doesn't turn into a sauna while the living room stays chilly.
Definitely. Basic manual dampers have a lever you set by hand and leave in place. Motorized versions connect to your thermostat or home automation so they can tweak things on the fly. Inline dampers cut through ducts in open spaces, while register dampers sit behind the vent grille. Which one suits you depends mostly on whether you want a set-and-forget fix or dynamic zoning.
Absolutely. When you stop sending heated or cooled air into unused rooms—like a guest bedroom or storage area—your system doesn't have to work as hard. This targeted approach reduces overall runtime and saves energy. Most people see lower bills immediately, especially during peak seasons.
A manual damper insertion into round ductwork is totally doable if you're comfortable with tin snips and foil tape; just cut the pipe, slip the damper in, and seal it tight. For rectangular trunks or motorized dampers with wiring, though, it's smarter to ring up an HVAC tech. A bad seal job or wrong sizing can cause leaking and whistling that defeats the purpose.
Picture this: your smart thermostat detects that the home office is occupied during the day. It signals motorized dampers to push more air there while dialing back flow to empty bedrooms. At night, the opposite happens. This coordination turns a single-zone system into a multi-zone comfort machine without gutting your ductwork.
Honestly, not much. Twice a year, pop off the vent cover if you can and peek inside to make sure nothing's sticky or blocked by dust bunnies. Lubricate the pivot points with a dry lubricant if the lever feels stiff. For motorized ones, keep the wiring box free of moisture and check that the actuator moves freely when commanded.
That usually points to deeper air delivery problems, not just damper position. The duct runs might be undersized, kinked, or leaking badly. The damper itself could be installed backward, which chokes flow abruptly. It's also possible the central blower is too weak or the filter's clogged. A quick look at the whole chain often reveals the real bottleneck.
Conclusion
Air dampers might not get the spotlight in home comfort systems, but they quietly shape how warm or cool each room feels. By adjusting the position of these unassuming metal plates inside your ducts, you gain granular control over airflow—no more fighting over the thermostat when one bedroom is a sauna and the living room stays chilly. Seasonal tweaks let you push more heated air downstairs in winter and redirect cool air up in summer, all while keeping energy use in check. The payoff is a steadier indoor climate and noticeably lower utility bills, especially once you learn to spot early warnings like uneven temperatures, whistling ducts, or a spike in dust. These hiccups often signal a damper that’s stuck or incorrectly set, and addressing them promptly keeps the entire HVAC loop running smoothly.
Choosing between manual and motorized dampers comes down to how hands-on you want to be. Manual models are straightforward and budget-friendly—a quick twist of a lever on the duct itself—while motorized versions integrate with smart thermostats or zoning panels, adjusting on the fly as conditions change. Whichever you pick, a little care goes a long way: a twice-yearly inspection for rust, debris, or loose linkages prevents most failures and extends the life of your ducts. When it’s time to upgrade, look beyond price and consider compatibility with your existing system, the quality of seals that minimize leakage, and whether the damper can handle the pressure in larger trunk lines. Pairing the right dampers with thoughtful zoning not only trims energy waste but also turns your home into a collection of truly independent climate zones—comfort that feels custom-tailored without a custom price tag.
Contact Us
Contact Person: Su Zhang
Email: [email protected]
Tel/WhatsApp: +86-25219206
Website: https://www.tht-valve.com/